




Happy New Year, Yummies!
When we left New York City a couple of weeks ago to go visit my family in California, I planned on just taking a few days’ break from blogging. It seems that I was more exhausted than I even knew. The beginning of this pregnancy, with its extreme nausea, had taken its toll, and the push to do the million things that needed getting done officially tired me plum out. Our vacation ended up being a retreat from most media and, for me, from blogging so that we could all enjoy some down time together and not worry about our usual responsibilities. And, of course, a bunch of my mom’s home cooking to revive us all.
Now we are back home and excited to share a recipe for sweet potato biscuits with you in the new year.
My first taste of sweet potato biscuits happened in the south, where they were smothered in this incredible maple butter and then doused with that simple frosting you can make with confectioner’s sugar and a little milk or water. They were delicious: light, flaky, and rich, clearly made from vegetable shortening and a good deal more sugar than your average biscuit. In New York, years later, I lived in the East Village near the Angelika Kitchen and, while I never tasted their vegan sweet potato biscuit, it seemed to be a favorite there since it was often seen being paraded, alongside collards and barbeque baked beans, from the kitchen on its way to a happy recipient in the restaurant.
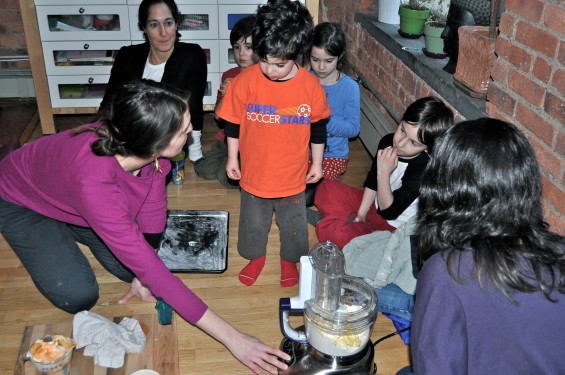
The sweet potato biscuits that we made in class this week became the topping for an ultra comforting chicken pot pie (recipe to come in a future post), but they are completely worthy of being made- and consumed- all on their own. Not one mini-chef refused to eat these biscuits which, of course, meant a success. It was especially a success when you consider that a few of them pulled horrible faces when the discussion of sweet potato puree was presented as one of the ingredients we would be using. Once again, sometimes we do like things INSIDE a dish, even when they seem yucky and make us hold our noses and make little gagging sounds OUTSIDE of the dish.
Keep repeating that to your own mini-chef (and maybe yourself) as you cook. I have, and, it seems, it does finally sink in.
Sweet Potato Biscuits
- 1 c. all purpose flour
- 1 c. whole wheat pastry flour
- 2 t. baking powder
- 1/2 t. baking soda
- pinch of salt
- 1/3 sweet potato puree (or pumpkin puree)
- 1/2 c. plain yogurt, cold
- 1 T. maple syrup
- 1/3 c. finely grated parmesan cheese
- 1 stick of butter (1/2 c.) cold and cut into 1/4-inch chunks
- Preheat your oven to 450 degrees F.
- Flour a rimmed baking sheet so that there is a light dusting over the entire bottom of the pan.
- In a medium bowl, whisk together the dry ingredients: the flours, baking powder and soda, and the salt.
- In a measuring cup, stir together the wet ingredients (except for the butter): the sweet potato puree, yogurt, maple syrup, and cheese.
- Using a food processor: Place the dry ingredients in the bowl of a food processor fitted with the blade attachment, sprinkle the pieces of butter all over the top of the flour mixture, here and there, secure the lid to the processor, and plug it in. Pulse 8 times for 1 second each press. Pour in the wet ingredients (please unplug the processor first!), secure the lid, plug the processor back in, and now pulse about 10-13 times for 1-second presses. When the dough looks like a shaggy mess, it’s ready. Unplug the processor and proceed to Step 7.
- By hand: Sprinkle the butter chunks all over the top of the flour mixture and, using cold hands, scrunch the butter into the flour so that you end up with chunks spread throughout the flour that look about the size of large peas. Do not over mix! Pour in the wet ingredients, and using a wooden spoon, gently stir the dough till it starts to stick together in a shaggy, slightly sticky mess.
- Pour the mess into the rimmed baking sheet. Using a floured rolling pin, roll the dough a few times till the depth of the dough is somewhere between a 1/4-inch and 1/2-inch thick (depending on your biscuit eating sensibilities).
- Chill for at least 20 minutes and up to 3 hours in the refrigerator.
- Remove from the fridge, and using cookie cutters dipped in flour or a pizza cutter, cut into 12-18 biscuits. If using a cookie cutter, make sure you send the cutter straight down into the dough and then lift it straight up again without waggling it around in the dough so that the pockets of butter on the sides will not be mushed around.
- Place on a baking sheet (or two) and bake for 12-20 minutes (depending on the depth of your biscuits). They are done when the tops of the biscuits are golden. Serve hot.
