Sweet Pea Hummus and Ricotta Tarts

26 March 2014 Filed In: all the rest, appetizer, Appetizers, cheese, cooking class, Course Type, hummus, Ingredient, lunchbox, Main Dish, Recipes, Seasonal Dishes, Side Dish, Snacks, Soy-free, spreads, Spring, Summer, tart, Type of Dish, Uncategorized, Vegetarian

Sweet pea hummus and ricotta tartsmaking ricotta 2separating the curds and wheyrolling out puff pastry doughrolling out the puff pastry 2rolling out the puff pastry 3making the sweet pea hummus 1letting children choose their ingredients

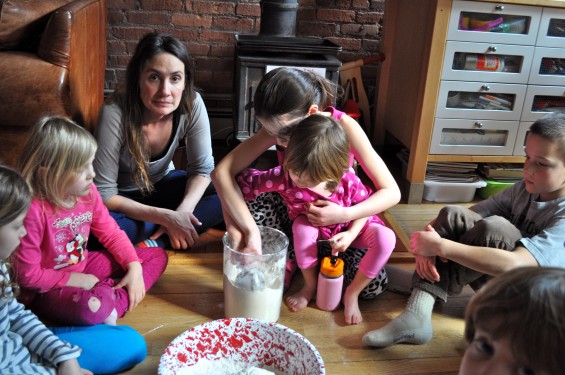
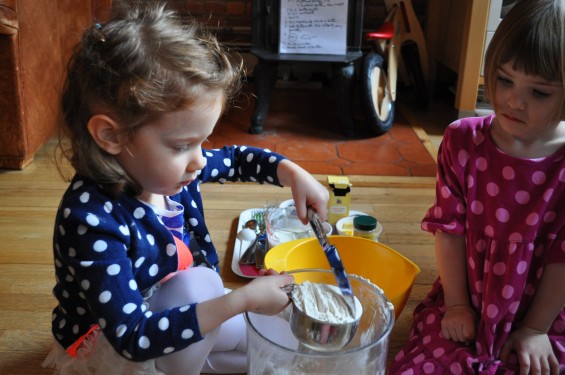
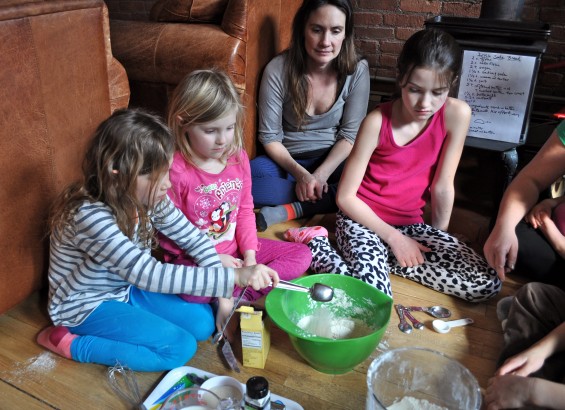
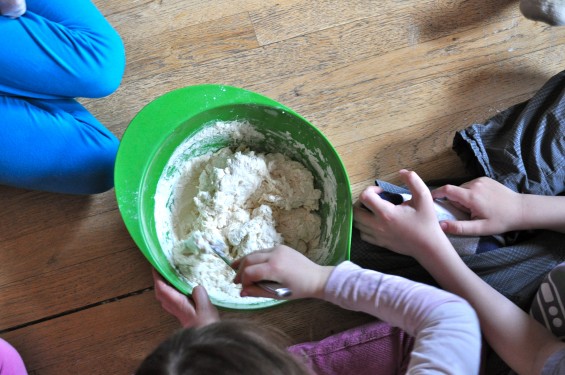
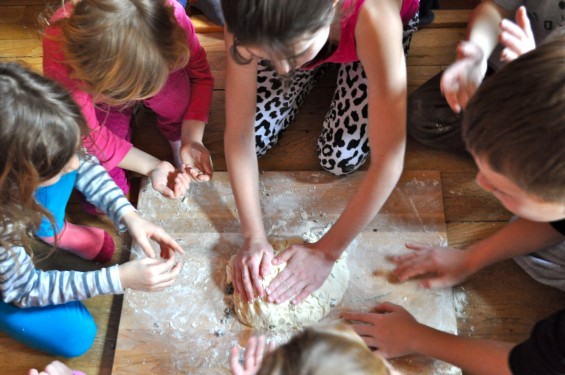
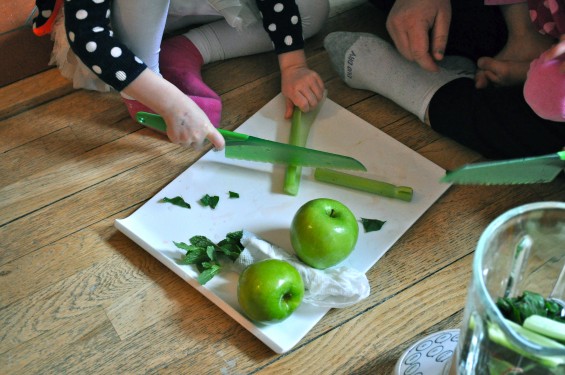
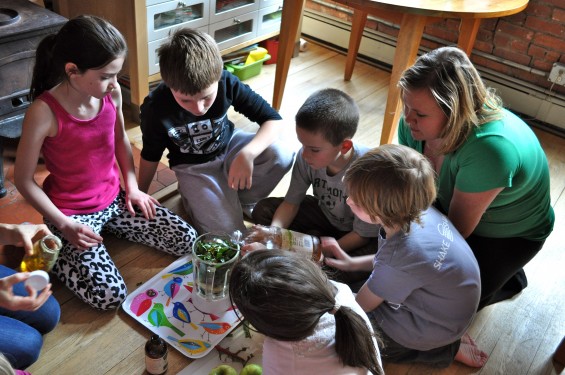
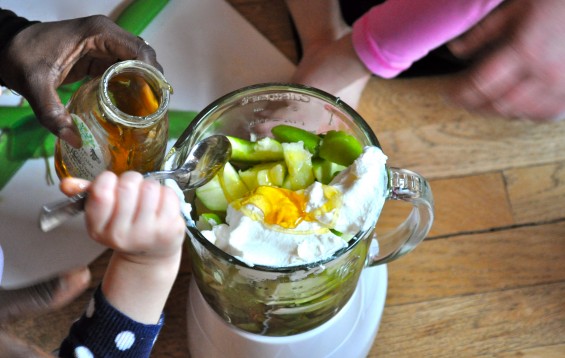
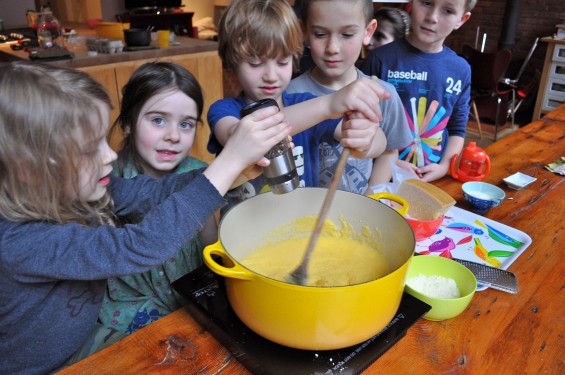
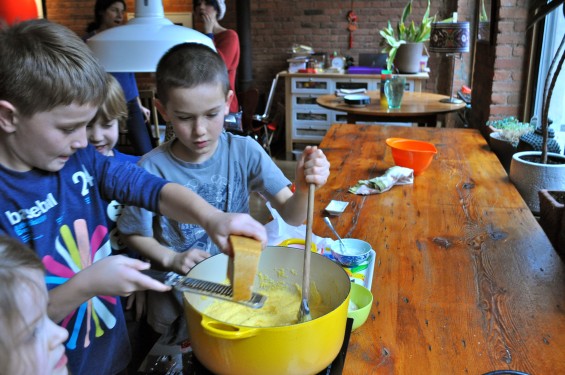
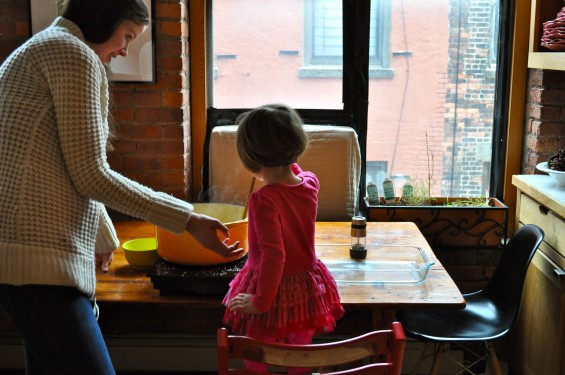
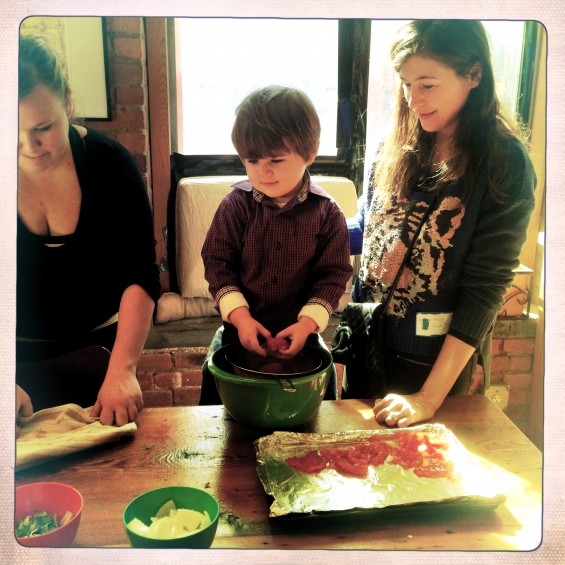
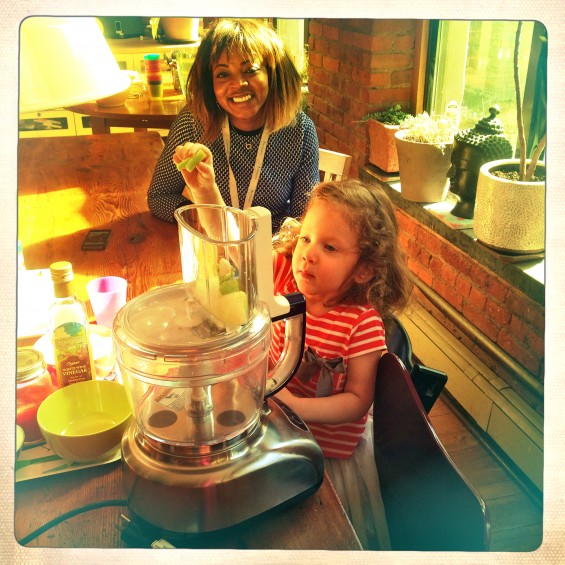
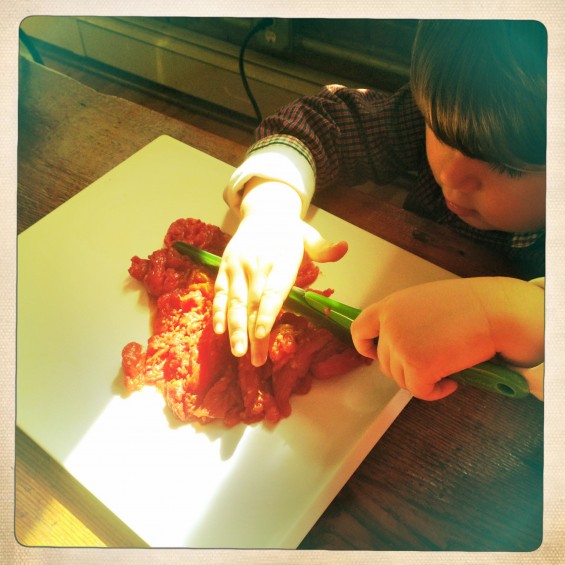
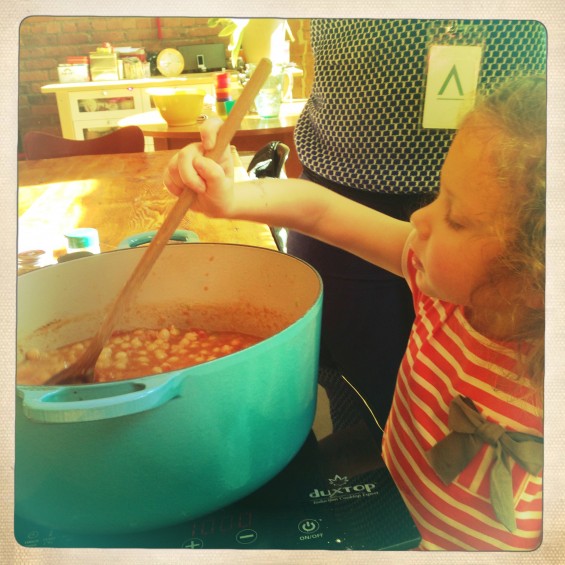
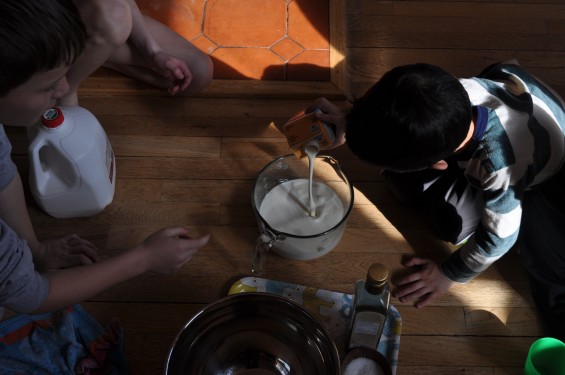
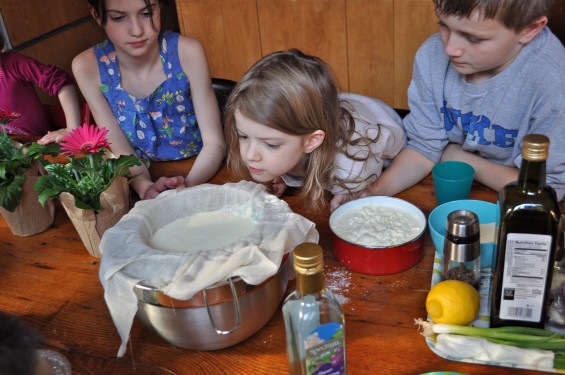
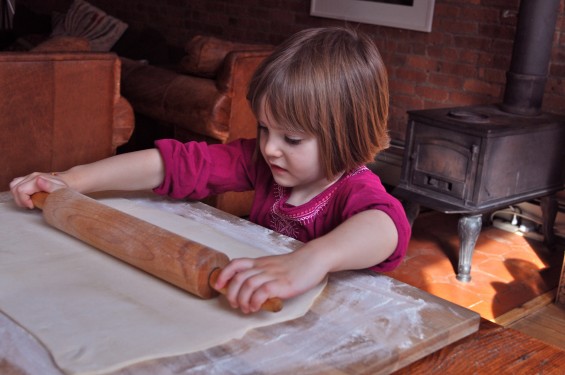
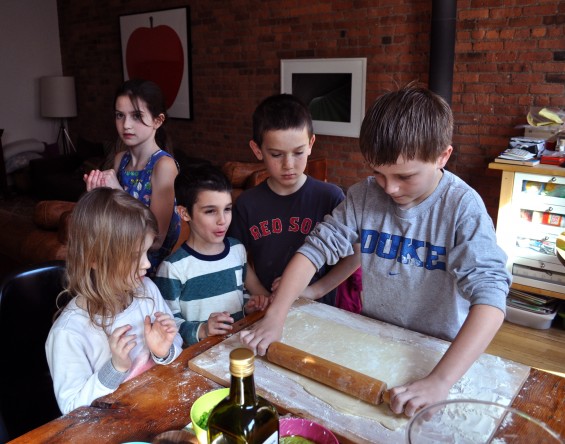
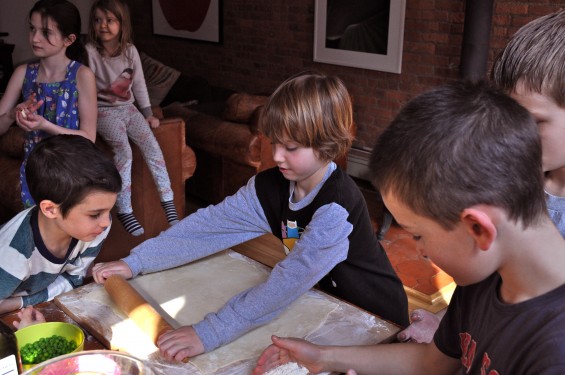
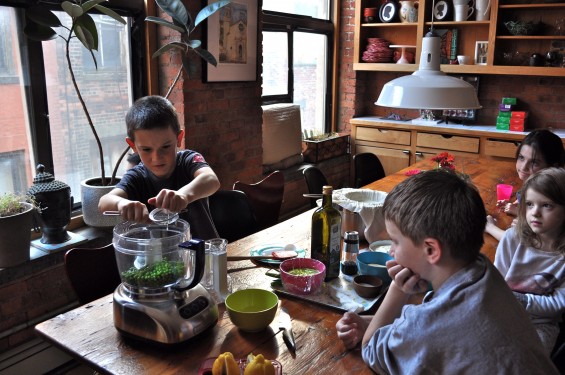
In cooking class with the older mini-chefs this week, we endeavored to make a multi step tart especially for Spring. It involved some quick cheese-making, thanks to this wonderfully easy ricotta recipe via The Barefoot Contessa, and puff pastry dough rolling, cutting, and baking, and throwing together some Sweet Pea Hummus in the food processor.

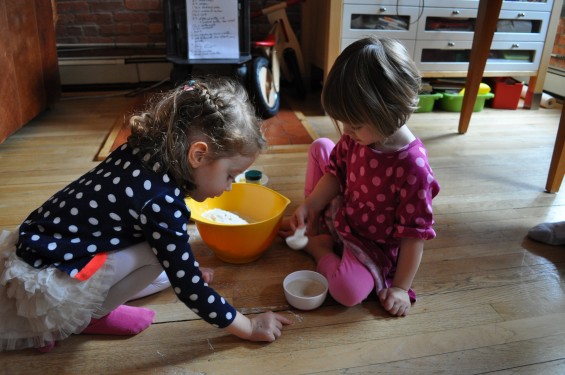
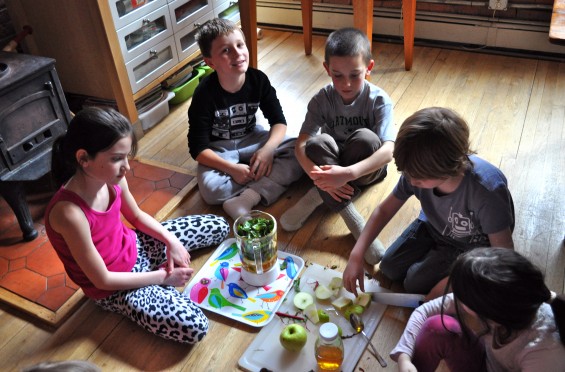
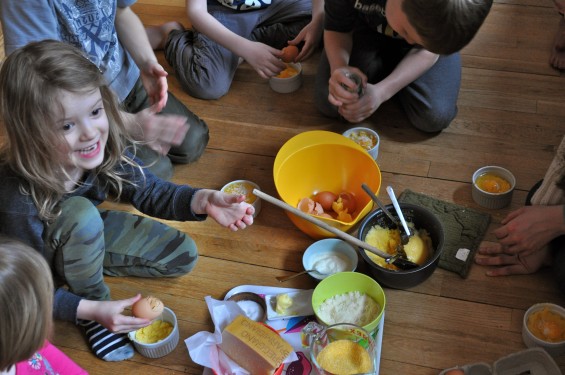
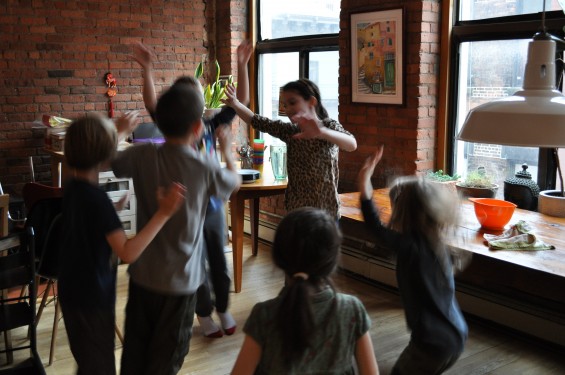
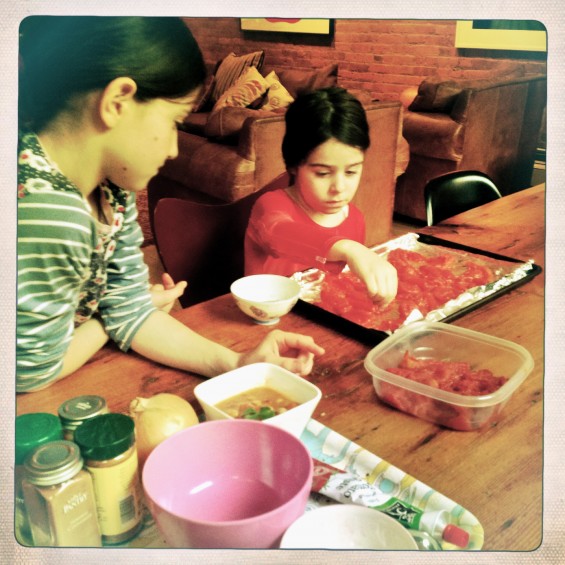
In the end, we ate our tarts at a very messy table, flour everywhere, and the topping ingredients set out for each to have his or her own assembly process. Lately, especially with these older kids, we have been allowing them to serve themselves and be involved in choosing what works for them. Letting them choose makes a difference because sometimes it gets them to take a tiny taste of something that they otherwise might not. It allows them to begin the creative process of recipe crafting and begin to understand balancing flavors in a dish.

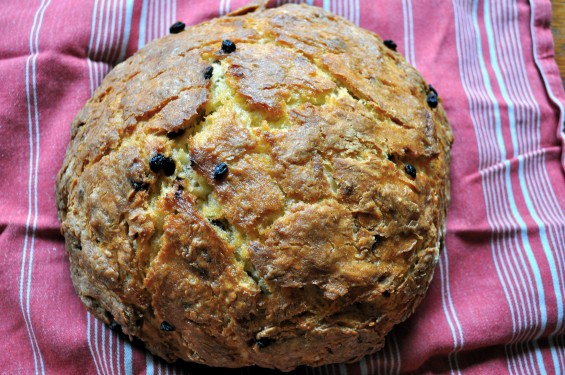
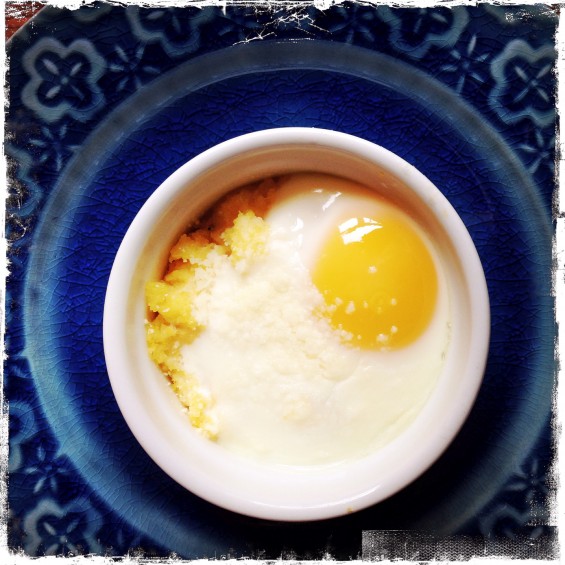
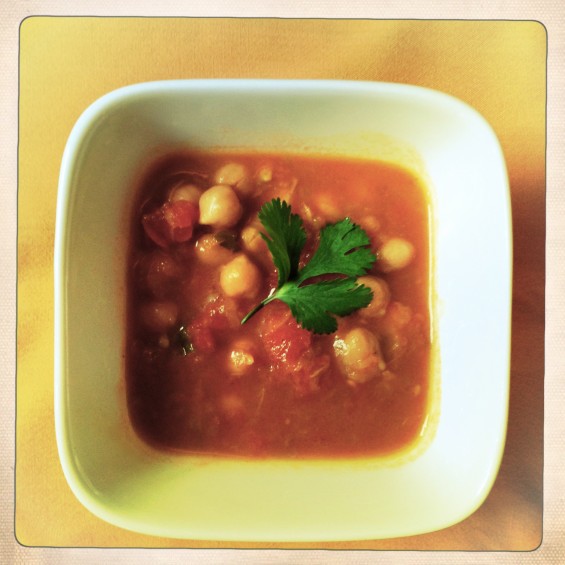
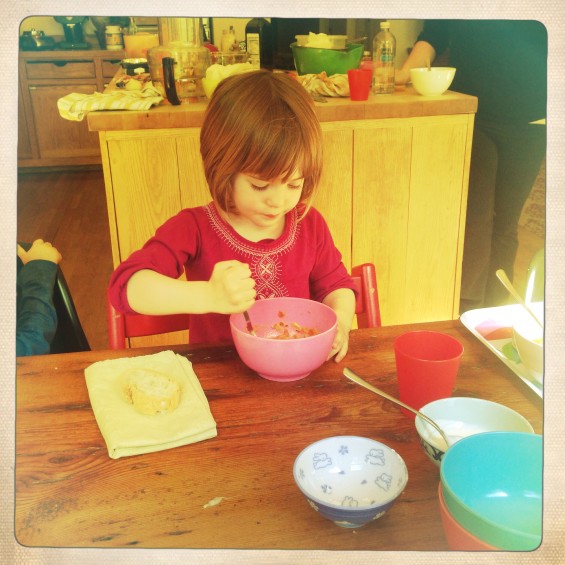
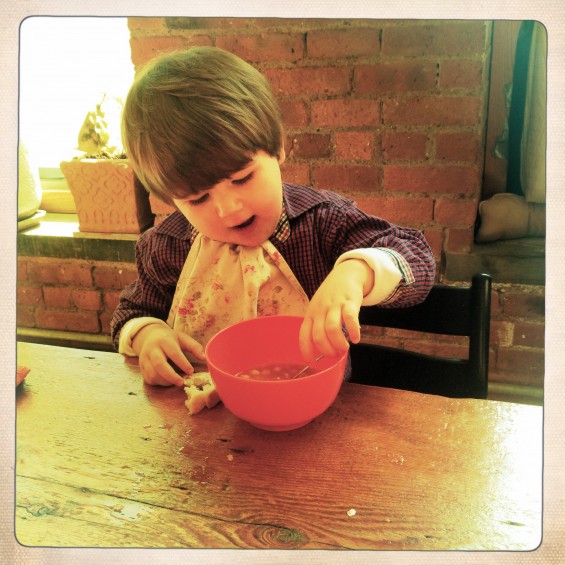
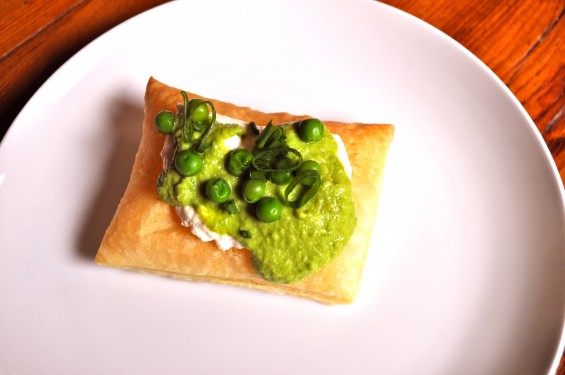
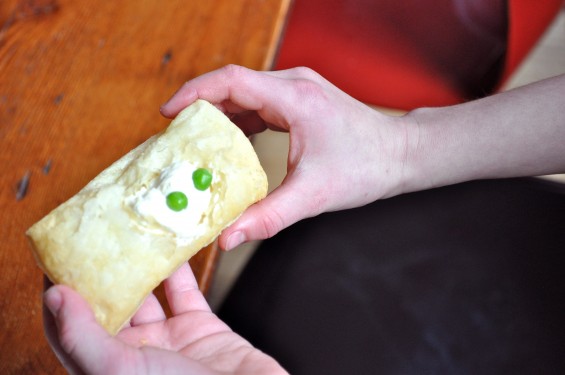
My daughter Mira ate her tart, as you can see just above, with a schmear of ricotta and two little peas whereas some of the other mini-chefs loaded their tarts with scallions and chives and large spoonfuls of the hummus. Being together and eating together, is helping Mira, very conservative about what she will try, become more adventuresome over time. She even tasted, but said she didn’t like, the hummus.

With some kids, you just keep exposing them to new foods and slowly some light seeps through the cracks in their food wall.  For Mira, The Princess and Her Two Peas, adding those two small green polka dots was a big step.

Sweet Pea Hummus and Ricotta Tarts

For the Hummus:

  • 1 1/2 c. peas (if using frozen, thaw first)

  • the juice of a large lemon

  • 1 large clove garlic

  • 1-2 T. chives

  • 1/2 t. salt

  • 1/2 t. freshly ground black pepper

  • 1/4 c. extra virgin olive oil

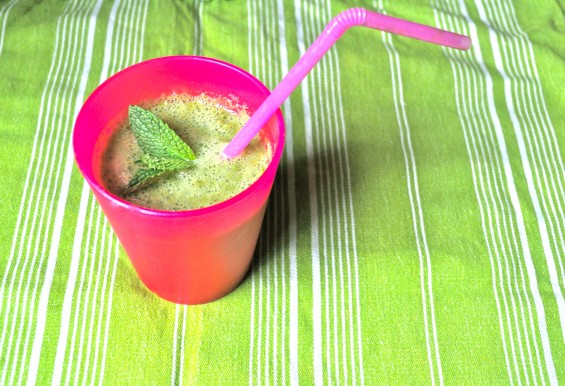
  • optional: small handful of mint leaves

Place all of the ingredients, except for the olive oil, in the bowl of a food processor fitted with the blade attachment and secure the top of the processor. Process for a minute before adding the olive oil through the feed tube at the top. Taste to adjust the seasoning. If you’d like to make the hummus ahead of time, store in an air-tight container with a tablespoon of olive oil drizzled over the top to avoid discoloring.

For the Tart:

  • one recipe of Sweet Pea Hummus

  • 2 packages of puff pastry dough, thawed in the refrigerator overnight

  • a bit of flour to roll out the dough

  • 2 c. ricotta cheese

  • 1 c. peas

  • a handful of chives, chopped

  • 2 scallions, sliced thin

  • optional: a few tablespoons of soft goat cheese, crumbled

  1. Preheat your oven to 400 degrees F. Line two baking sheets with parchment.

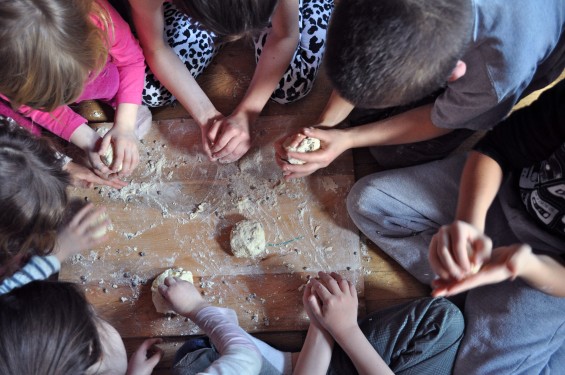
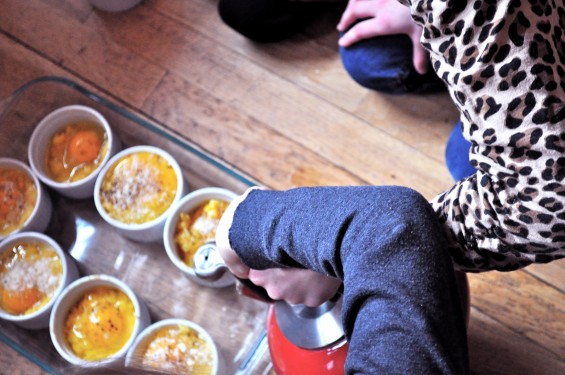
  2. Roll out the dough. On a lightly floured board, roll out the first package of puff pastry till it’s 1/4-1/8-inch thick. Using a pizza cutter or a sharp knife, cut the puff pastry into squares or rectangles, etc.  You can decide how you’d like your tarts to look.  Artistic license rules here.  Place the puff pastry pieces onto the lined baking sheets leaving some space for each piece to puff up and expand as they bake.  Place in the oven and bake for about 20 minutes, or until puffed and golden.  Repeat with the second sheet of puff pastry.

  3. To assemble and serve: Place bowls and spoons for all of the toppings out on the table and serve family/buffet style.  Allow your diners to choose how they’d like to load up their puff pastry.

Irish Soda Bread

13 March 2014 Filed In: Uncategorized

Irish Soda Bread 2sisters make cake flourS measures out flourmost of it makes it to the bowlmeasuring the soda for the soda breadstir it up!kneading the soda breadmaking individual soda bread rollsIrish Soda Bread

Never will I forget the story about the raisin buns from Frank McCourt‘s memoir about growing up in Limerick, Ireland, Angela’s Ashes.  Frank and his classmates, all varying degrees of impoverished, received their daily bread, a raisin bun, at school lunchtime. Only, the raisin buns never, ever, ever had any raisins. The raisins were a mythical thing, elusive and idealistic, like a unicorn or a mermaid, but something that never appeared in real life. As the story tells it, though, one day a single raisin appeared in Frank’s raisin bun, and each child begs Frank, famous now among his classmates, for that precious treat.

When I set out to construct a recipe for Irish Soda Bread, my first thought was about Frank’s raisinless raisin buns, and the second was of the two months I spent living in London the summer I was 20.

London, let’s say, was not my cup of tea. Since I was a student, mostly vegetarian, and could not afford expensive meals, I hunted around for something, anything to eat there.  The fruit and vegetables at the local grocer looked pallid and sad.  They cost so much, too, that I could not bear to buy them very often, even if for philosophical reasons. I subsisted mostly on Cadbury Dairy Milk, imported Swiss yogurt, PG Tips, and Irish Soda Bread from the Irish Bakery in the neighborhood near Hampstead Heath, where my flat was.

The Irish girl who handed me my roll each morning was all business, and I never did thank her for keeping my spirits up while in London as it would have embarrassed us both. Somehow, that bread sustained me through a dreary time till, eventually, I ran away to Rome, where, by the way, I ate like a queen for pennies and much more in my element.

So, here is an Irish Soda Bread of our own.  It uses cake flour, which makes it taste moister and richer than the traditional, and my goodness, we did not skimp on the raisins, or currants as the case is. In fact, we added a lot- so many that you will need to encourage them back into the bread as you carefully and gently knead it. You can be more judicious about the amount of currants that you add, but as for me and the mini-chefs, we delighted in the excess.


Irish Soda Bread

  • 1/4 cup coarse cornmeal for lining the baking pan
  • 2 cups of all-purpose flour
  • 2 cups of cake flour
  • 1 1/2 t. baking soda
  • 1 1/2 t. cream of tartar
  • 1 1/2 t. salt
  • 1 1/2 T. sugar
  • 2 T. butter, room temperature and cut into 8 pieces
  • 1 1/2 c. buttermilk, room temperature
  • 1 1/2 c. currants (or golden or regular raisins)
  • 2 T. butter, melted
  1. Preheat your oven to 400 degrees F. Sprinkle a rimmed baking sheet, for buns, or a 5 qt. cast iron dutch oven, for the large loaf, with the cornmeal.
  2. In a large bowl, whisk together the flours, baking soda, cream of tartar, salt, and sugar. Throw the butter pieces on top of the flour mixture, and using your hands, mix it together till the dough looks like a clumpy mess, with butter pieces here and there. Slowly pour in the buttermilk, stirring the dough with a large fork as you pour. Stir with that fork till the dough just barely comes together.  Add the currants.
  3. On a lightly floured board, with lightly floured hands, knead the dough few times to shape it into one large ball, or smaller, individual sized balls to make buns.  Place the buns onto
  4. Place in the oven and bake for 45-50 minutes for the single loaf or 20-30 minutes for the smaller buns. They should be golden brown on top.
  5. After removing the bread from the oven, use a pastry brush to immediately brush the entire crust with the 2 T. melted butter.
  6. Let cool for a couple of minutes, and then dig in. Enjoy!

Green Smoothies for Saint Patrick’s Day

12 March 2014 Filed In: all the rest, apple, beverages, breakfast, cooking class, Course Type, Dairy-free, Drinks, Gluten-free, greens, Ingredient, Recipes, Seasonal Dishes, smoothie, Snacks, Soy-free, spinach, Spring, Summer, swiss chard, Type of Dish, Uncategorized, vanilla, Vegan, Vegetarian, yogurt

green smoothiechopping fruits and vegetables with a lettuce knifelearning to chop green appleskids making green smoothiesadding raw honey to a smoothie

In cooking class this week, we began celebrating St. Patrick’s day a little early. Because we were also making Irish Soda Bread, the recipe for which we will share in another post, we needed something fresh and GREEN to balance out our meal.

Enter The Green Smoothie.

We like drinking our greens, but we prefer smoothies to juices since, when you keep all the parts of the fruits and the veggies, you get more fiber. In the afternoon class, we are still practicing our knife skills. We had quite a few apple core pieces that made it into our smoothies, but they did not affect the final effect after it’d gone through the blender.

Some of the kids were making stank faces as they tore up the swiss chard leaves, cut the celery, and added the spinach leaves, or some merely looked unconvinced that they were actually going to imbibe these things. They seemed excited about the vanilla and, of course, the raw honey.  We talk a lot in the classes, especially when a Yummy has food aversions, about how being a chef is magical. You may think a certain ingredient is yucky on its own, but when you put it with other ingredients, the magic happens.

O., one of my mini-chefs, sat happily slurping up her green smoothie, and her mama came over to her and asked, “Can you believe that you’re eating swiss chard?”

She looked a bit shocked at herself, replied, “Nope!”, and continued to drink it till it was all gone.

The sole mini-chef who refused to take even a single sip of her smoothie was, of course, one of my children. Genevieve told me that she wasn’t going to try it.  When I asked her why not, she replied, “It is a green smoothie. I only drink pink smoothies.” Hmm, seems like the perfect remedy for pinkatitis to me!

May the luck of the Irish be with you, Yummies, and may you try this incredible fresh, green smoothie very soon.

Green Smoothies with Greens, Celery, Green Apple, and Mint

  • 1 large handful of spinach
  • 2 large swiss chard leaves, torn into pieces and middle stems removed if you have red swiss chard (for color only)
  • 2 stalks of celery, roughly chopped
  • 2 tart green apples (Granny Smiths work well)
  • a handful of fresh mint
  • 1 T. raw local honey
  • 1 c. yogurt (optional)
  • 2 c. apple juice (milk, water, almond milk, etc. are also good)
  • 1 t. vanilla extract
  • 3 bananas, cut into 1-inch pieces and frozen
  1. In the pitcher of a blender, add all of the ingredients.
  2. Place the lid on the blender, and put the pitcher onto the blender’s base.
  3. Blend till completely, uniformly, green.  Pour and serve with a straw.
  4. Enjoy!

Coddled Eggs with Cheese Polenta

05 March 2014 Filed In: all the rest, appetizer, Appetizers, breakfast, cheese, cooking class, Course Type, egg, eggs, Gluten-free, grits, Ingredient, Main Dish, Side Dish, Soy-free, Type of Dish, Uncategorized, Vegetarian

coddled eggs with cheese polentateam polentacheese polentaG stirs the polentacoddling eggspour boiling water into the panphysical fitness while the the food cooks

One of the first things we did in preparation for making this dish was to discuss the term “coddled”. After discussing its meaning, we decided that the more modern name for these coddled eggs is “Helicoptered Eggs”.

Now, although, you will have to treat these eggs with special care to not break the yolks, all of the mini-chefs, even the two-year-olds, were able to break the egg into the ramekin without breaking the yolk. If a little shell drops in, carefully pull it right back out again with your fingers. No biggie.

With the Littles, we made polenta in the rice cooker, something I highly recommend if you have a rice cooker sitting around and would like to break that baby out on a more consistent basis. The older mini-chefs practiced making polenta the old fashioned way: stir, stir, stir. Both turned out creamy and delicious.  It is worth noting, too, that if you do not like or do not eat dairy, then you can make this dish dairy-free by stirring in olive oil instead of the butter and adding a tablespoon or two of organic virgin coconut oil instead of the cream. The spilled soft egg yolk will make either version luscious to eat and, of course, very rich.

While our eggs were cooking in the afternoon class, the Yummies decided to get to work with some impromptu physical fitness.  Jumping jacks, push ups, and sit ups ensued.  Well, you do need to be strong to be a coddler!

Coddled Eggs with Cheese Polenta

  • 1 c. dry polenta
  • 2 c. water
  • 1 T. butter
  • 1/4 c. creme fraiche, sour cream, or heavy cream
  • 1/4 c. grated parmesan cheese
  • 1/4 c. grated Romano or gruyere cheese
  • a dozen eggs
  • freshly chopped herbs (parsley, thyme, chervil, etc.) or some extra cheese to top the eggs
  1. To make the polenta: Bring the water to a boil in a large, heavy-bottomed pan. Stir in the polenta, and keep stirring as you add the butter, cream, and cheeses.  Stir and stir some more till the polenta is soft and creamy, about 30 minutes. If using a rice cooker instead, place all ingredients into the rice cooker, stir, and cook on the white rice setting. Open up the rice cooker a couple of times to stir the ingredients as the polenta cooks.
  2. While the polenta is cooking, preheat your oven to 350 degrees F.  Boil a big pot of water in a pan with a pour spout or in a kettle.
  3. Scoop the polenta into the bottoms of 12 ramekins.  The polenta should come about 1/3-1/2 way up the side.  Pat it down a bit to create a bed on which to place the egg.  Carefully crack an egg on top of each bed of polenta.  Sprinkle with a little more cheese or some herbs if you like. Place each ramekin in a large baking pan (you will need two 9×13 Pyrex type pans). Very slowly, taking care not to get any of the water in the ramekins themselves, pour the water into the baking pans so that it comes up about 1/2 way to the top of the ramekins.  Place in the oven and cook for 25 minutes, or until the white is fully cooked and firm but the yolk is still runny and soft.
  4. Using oven mitts to protect your hands, place each ramekin on a plate, let cool a minute or so, and serve.  Remind the eater that the ramekin is very hot!!!  Enjoy!


Harira: Moroccan Tomato and Chickpea Soup

27 February 2014 Filed In: all the rest, beans, chickpeas, cooking class, Course Type, Dairy-free, Fall, Gluten-free, greenmarket, Ingredient, lunchbox, Seasonal Dishes, soup, Soups & Stews, Soy-free, stock, tomato, Type of Dish, Uncategorized, Vegan, Vegetarian, Winter

hariradeseeding the tomatoesroasting tomatoes with brown sugarkids using the food processorchopping up the roasted tomatoesstirring the hariraG tasted the hariraE tastes the harira


In cooking class, we are always trying to walk that fine line between making something with a good shot of being eaten by the mini-chefs, especially the two year olds who have often sworn off most foods, and being adventuresome. Harira, a Morrocan tomato and chickpea dish, straddles both worlds.  On the one hand there are familiar favorites, like the tomatoes and the chickpeas. On the other hand we’re embracing the fact that onions and garlic, things that might be the tiniest bit stinky when raw, end up being delicious when we work the magic of cooking on them.

We do an extra step of roasting the tomatoes with a bit of brown sugar before chopping them and putting them in with the rest, and I, no nonsense chef that I am, will swear to you that roasting your tomatoes in this way adds depth of flavor to the soup. It’s also a really fun part for the mini-chefs.  However, if that step is a little too TOO for you, skip it, chop up your tomatoes and get on with the soup.

Here we made a vegan, gluten-free version of Harira. It is simple and hearty and lovely. You can add many things to it: cooked chicken or lamb, greens, rice, and even raisins can be part of this traditional dish. As always, feel free to consult your mini-chef and play with ingredients to make this dish your own.

Harira

  • 28 oz. whole tomatoes with their juice reserved
  • 1 T. brown sugar
  • 2 T. olive oil, plus a little more for oiling the baking sheet
  • 3 medium cloves garlic, peeled and woody ends cut off
  • 1 medium onion, cut into large chunks
  • 2 stalks of celery, leaves included, cut into large chunks
  • 1 T. flour (gluten-free fine here)
  • 1 heaping T. tomato paste
  • 1 t. cinnamon
  • 1 t. ginger
  • 1 t. paprika (sweet, smoked, or spicy, as you like)
  • pinch of cloves
  • 4 c. stock (vegetable or chicken work well)
  • 4 c. cooked chickpeas
  • 1/4 c. parsley
  • optional: 1/4 c. cilantro, lemon wedges, 1/4 c. white wine vinegar
  1. Preheat your oven to 400 degrees F. Line a rimmed baking sheet with foil, pour a bit of oil onto the foil, and have your mini-chef finger paint the entire surface of the foil. Place a fine-mesh sieve over a large bowl, pour in your tomatoes, and, using your hands, try and get as many of the seeds off of each tomato before placing it on the baking sheet. When all tomatoes have been placed in one layer on the sheet, sprinkle them with the brown sugar and place them in the oven to cook for about 20 minutes, or until the juices of the tomato have dried out completely. Let them cool and, once cooled, chop them up.
  2. In a large heavy-bottomed pot, glug in 2 T. of olive oil. Turn the heat on low to warm the oil.
  3. With the motor off, add the celery, garlic, and onions to your food processor fitted with the shredder attachment. When you have replaced the top and all fingers are out of the way, turn the machine on and let it shred the vegetables. Add the shredded vegetables  and the spices (cinnamon, paprika,clove, and ginger)to the pot and cook, stirring, for a few minutes, till the vegetables are very soft. Turn up the heat to medium, add the flour and stir constantly for a minute. Add the tomato paste and stir another 3o seconds. Pour in the stock, chickpeas, chopped tomatoes, and the reserved tomato juice and bring the soup to a boil. Have your mini-chef tear the parsley with their hands, and add that to the pot.  Turn the heat back down to low and simmer for 30 minutes.
  4. At the very end, stir in the white wine vinegar or serve with lemon wedges and a side of cilantro for anyone who wants it to tear into their bowl. Enjoy!